
Enroll in Payments Using the Desktop app
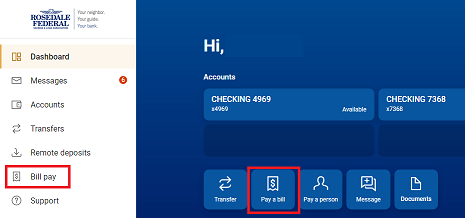
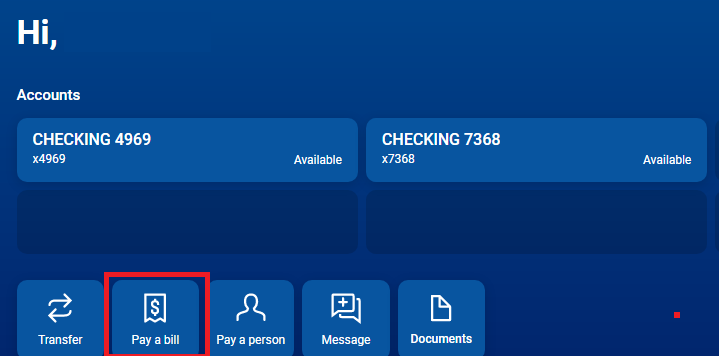
Enroll in Bill Pay on the desktop app. Select "Bill pay" on the left side of the screen.(You can also select "Pay a Bill" from the Payments card on the dashboard.)
Adding Payees
Mobile app |
Desktop |
|---|---|
|
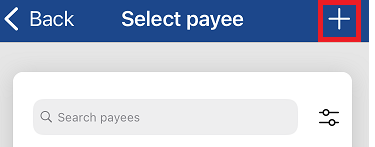
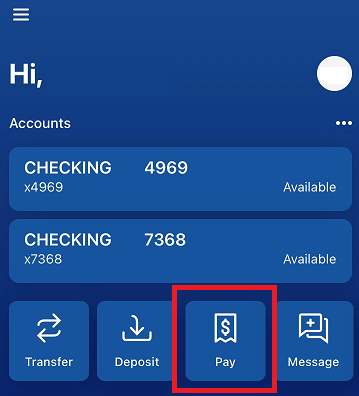
Select "Pay", then tap the "+" to the right of "Select payee.
 |
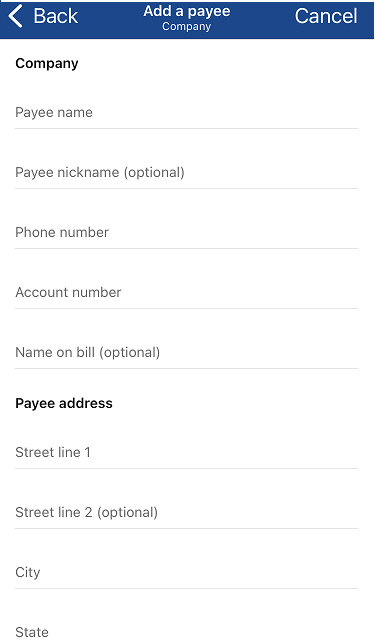
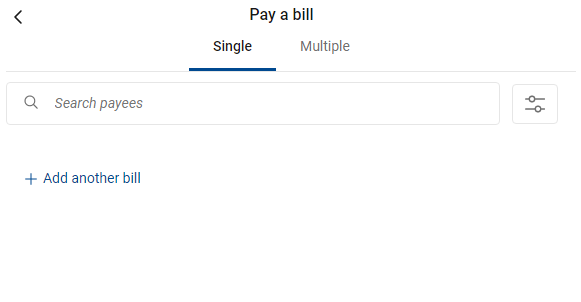
Pay a Bill (company)Select "Pay a Bill"
Select "+Add another bill"
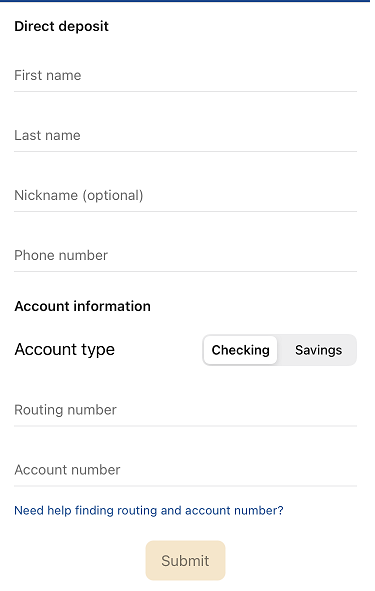
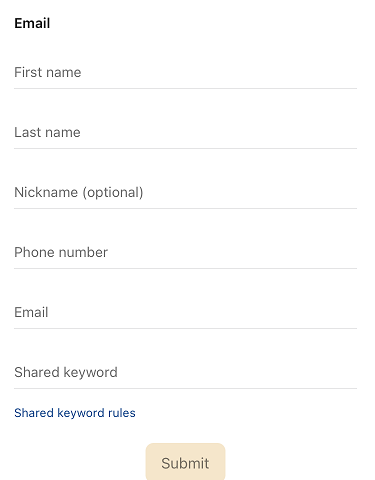
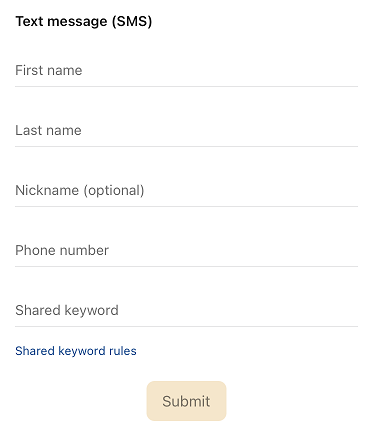
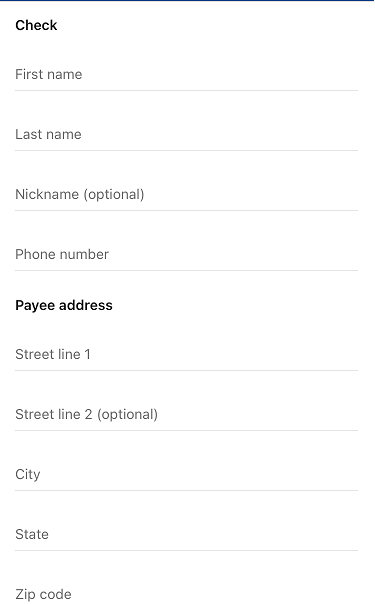
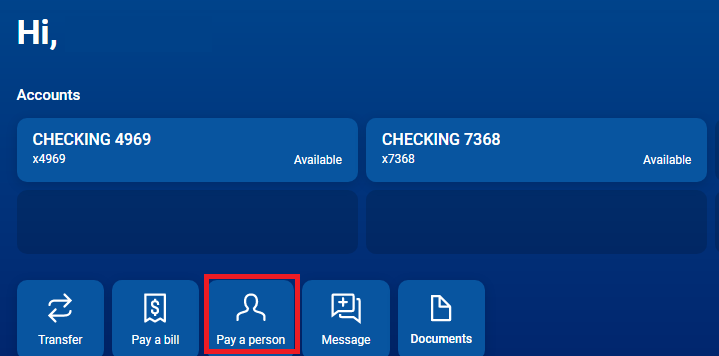
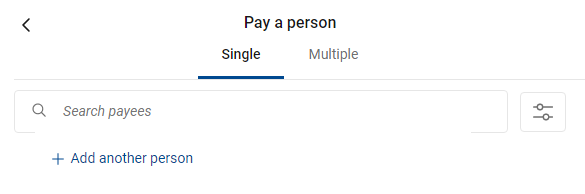
Enter the payee's information to add them to the bill pay system. Pay a personSelect "Pay a person"
Select "+Add another person"
|
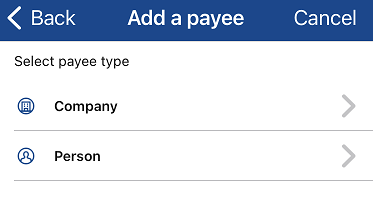
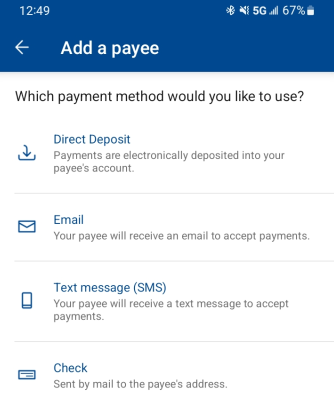
 Select which payment type you would like to use.
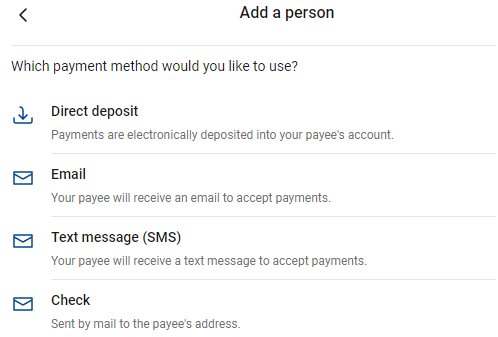
Making and scheduling payments
| Mobile app | Desktop |
|---|---|
|
Select "Pay".
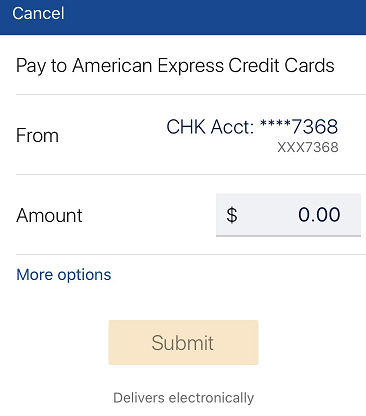
Select the payee you want to pay. Then, select the account you'd like to pay from and enter an amount. You can select "More options" to choose a date, frequency, and make a note about the payment. Then press "Submit" to schedule your payment.
|
Select "Bill Pay" on the left side of the screen.
Select the payee you want to pay. Then select the account you'd like to pay from, and enter an amount. You can select "More options" to choose a date, frequency, and make a note about the payment. Then press "Submit" to schedule your payment.
|

Editing payments
| Mobile app | Desktop |
|---|---|
|
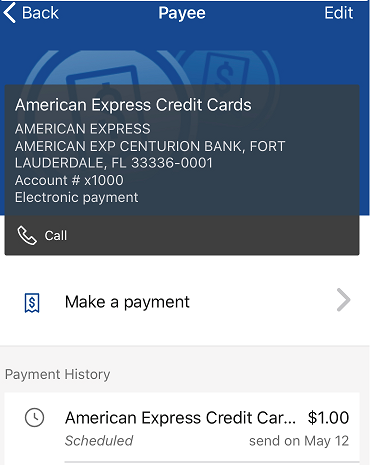
From the main menu, select "Pay" (You can also select "Pay" in each account card, or view scheduled payments in the payments card on the dashboard.)
Select the payee and find the scheduled transaction under "Payment History." Then choose the payment you'd like to edit.
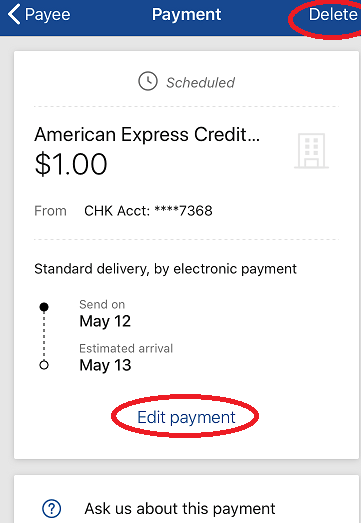
Select "Edit Payment" to make changes. From this screen, you have the ability to delete payments in the upper right-hand corner.
|
Find the Bill Pay card on the dashboard and click on the scheduled payment you'd like to edit.
Select "Edit" to make changes. From this screen, you also have the ability to delete payments in the upper right-hand corner.
|


Rosedale Federal Digital Banking How-To:
- Quick Guide to Digital Banking
- Common Digital Banking Questions
- Two Factor Authentication (2FA) Enrollment
- Payments (Bill Pay)
- Person to Person Payments
- Mobile Deposit
- Mobile Deposit Frequently Asked Questions
- Customize Your Mobile App Dashboard
- Create Customized Account Alerts
- Send Secure Messages
- Make One-Time or Recurring Transfers
- Make External Transfers
- Make Online Loan Payments
- Keep Track of Your Accounts with Other Financial Institutions
- Profile Maintenance
- Make Principal Only Payments
- Enroll for e-Statements & eNotices
- Stop Payments
- Special Character User IDs & Passwords
- Connect With Quicken or QuickBooks